基于 Vue3.x + Vant UI 的多功能记账本(二)
文章目录
- 基于 Vue3.x + Vant UI 的多功能记账本(二)
-
- 搭建开发环境
-
- 项目演示
- 1、创建项目
- 2、配置路由
- 3、添加 Vant UI 组件库
- 4、移动端 rem 配置
- 5、添加 iconfont 文字图标库
- 6、二次封装 Axios 请求库
- 7、添加 Less 预处理器
- 写到最后(附源码)
搭建开发环境
Vue3 + Vant UI_多功能记账本
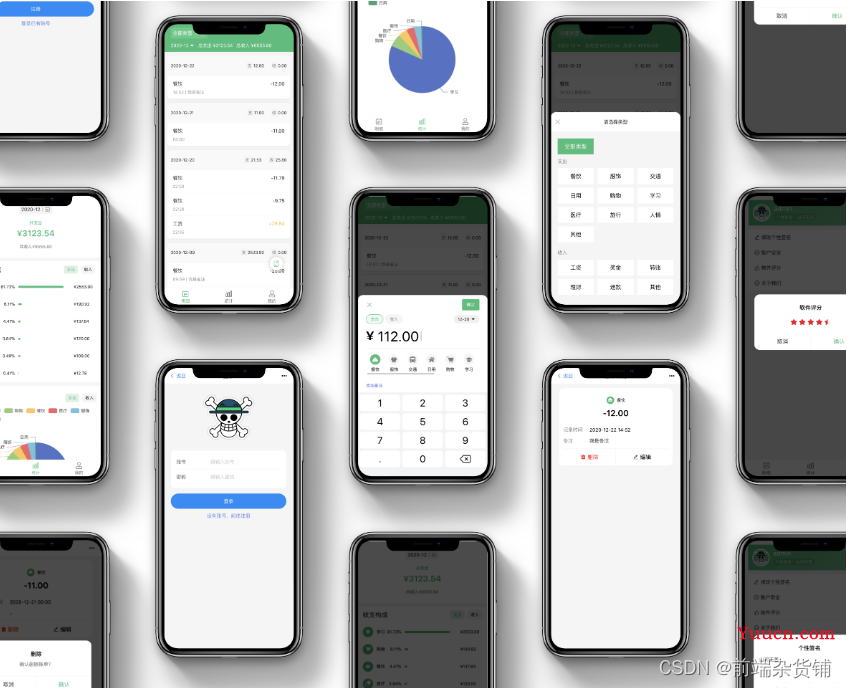
项目演示
1、创建项目
终端键入以下指令,每一行命令跟一个回车(也可以使用 npm,方法类似)
// 创建 vite-app 项目
yarn create vite-app daily-cost
// 定位到 daily-cost 目录
cd daily-cost
// 添加依赖
yarn
// 启动项目
npm dev
安装路由插件
yarn add vue-router@next
2、配置路由
在 src 目录下创建 router 文件夹,router 文件夹里面创建 index.js 文件,用于路由的配置
./src/router/index.js
// 用的是 hash 路由,不需要后端支持
import { createRouter, createWebHashHistory } from "vue-router";
import Home from '../views/Home.vue'
// 创建路由实例
const router = createRouter({
  history: createWebHashHistory(), // hash 模式
  routes: [
   {
     path: "/",
     component: Home
   }
 ]
})
// 抛出路由实例
export default router
在 src 目录下创建 views 文件夹,views 文件夹里面创建 Hello.vue 组件,让路径能渲染出内容
./src/views/Hello.vue
<template>
  <div>前端杂货铺</div>
</template>
<script>
export default {};
</script>
在 main.js 文件中 导入并使用路由,记得拆分一下源代码,好让 router 被使用
main.js
import { createApp } from 'vue'
import App from './App.vue'
import router from './router'
import './index.css'
const app = createApp(App)
app.use(router)
app.mount('#app')
在 App.vue 组件中导入 Hello.vue 组件,并做出呈现
App.vue
<template>
  <router-view />
</template>
<script>
import Home from './views/Home.vue'
export default {
  name: 'App',
  components: {
    Home
  }
}
</script>
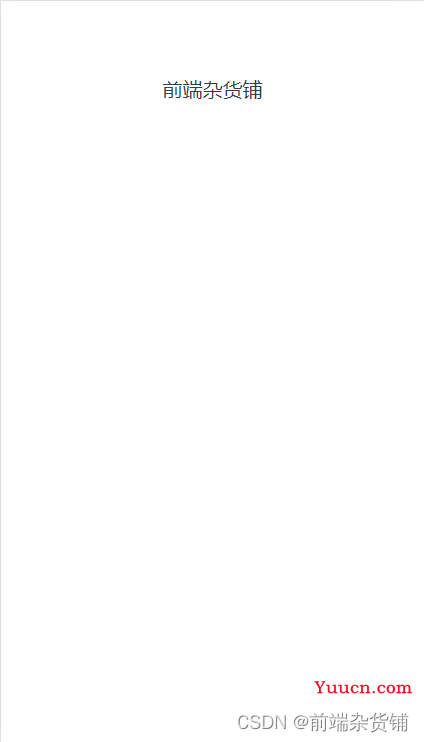
此时,yarn dev,打开浏览器可以看到…
3、添加 Vant UI 组件库
安装 Vant UI 组件库( Vant UI 国内地址)
yarn add vant@3.0.0-beta.8 -S
添加按需引入的插件(减少代码量,加快项目的启动)
yarn add babel-plugin-import -D
在根目录添加 babel.config.js,代码如下
module.exports = {
  plugins: [
    [
      "import",
      {
        libraryName: "vant",
        libraryDirectory: "es",
        style: true,
      },
      "vant",
    ],
  ],
};
在 main.js 文件中导入样式并按需注册组件
import { createApp } from 'vue'
import {Button} from 'vant'
import App from './App.vue'
import router from './router'
import "vant/lib/index.css"; // 全局引入样式
import './index.css'
// 创建实例
const app = createApp(App)
// 注册组件 => 按需注册
app.use(Button)
app.use(router)
app.mount('#app')
在 Hello.vue 组件中,随便添加一个组件做测试(中号的警告按钮)
<template>
  <div>前端杂货铺</div>
  <van-button type="warning" size="middle">中号按钮</van-button>
</template>
<script>
export default {};
</script>
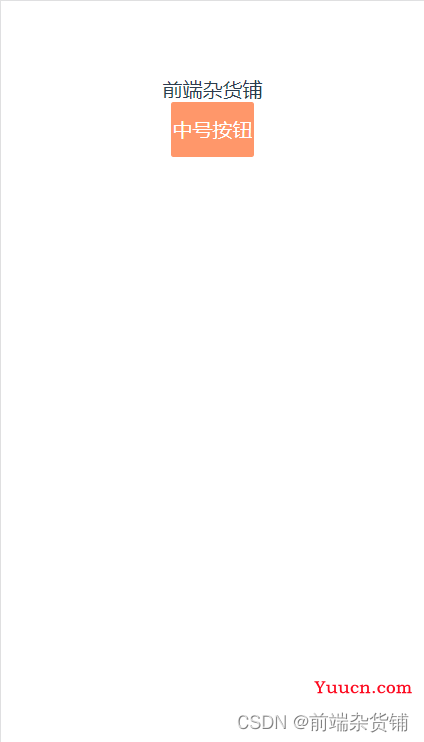
此时,yarn dev,打开浏览器可以看到…
4、移动端 rem 配置
本项目是一个移动端的项目,需要使用 rem 做不同手机型号的适配
Vant 中的样式默认使用 px 作为单位,如果要使用 rem 单位,可使用以下两个工具
- postcss-pxtorem 是一款 postcss 插件,用于将单位转化为 rem(在编译的时候对 px 单位转换为 rem 单位时使用)
- lib-flexible 用于设置 rem 基准值(网页做 html 的 font-size 适配用的)
接下来,安装它们
yarn add lib-flexible -S
yarn add postcss-pxtorem -D
在 main.js 引入 lib-flexible
main.js
import { createApp } from 'vue'
import {Button} from 'vant'
import "lib-flexible/flexible";
import App from './App.vue'
import router from './router'
import "vant/lib/index.css"; // 全局引入样式
import './index.css'
// 创建实例
const app = createApp(App)
// 注册组件 => 按需注册
app.use(Button)
app.use(router)
app.mount('#app')
在根目录声明 postcss.config.js 文件,为 px 单位转 rem 单位做配置
module.exports = {
  plugins: {
    "postcss-pxtorem": {
        rootValue: 37.5, // Vant 官方根字体的大小
        propList: ['*'],
        selectorBlackList: [".norem"] // 过滤掉.norem-开头的 class,不进行 rem 转换
    }
  }
}
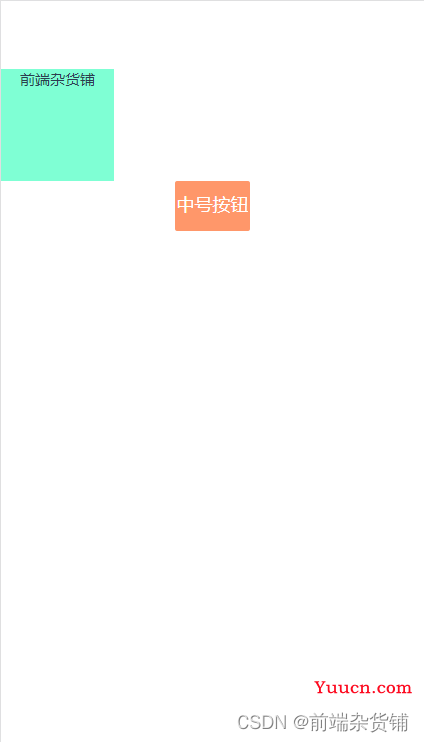
在 Hello.vue 组件设置一个 div 样式,测试 rem 适配是否成功
Hello.vue
<template>
  <div class="demo">前端杂货铺</div>
  <van-button type="warning" size="middle">中号按钮</van-button>
</template>
<script>
export default {};
</script>
<style scoped>
.demo {
  width: 100px;
  height: 100px;
  background: aquamarine;
}
</style>
此时,yarn dev,打开浏览器可以看到…
5、添加 iconfont 文字图标库
阿里巴巴字体图标库
首先,注册个人账户
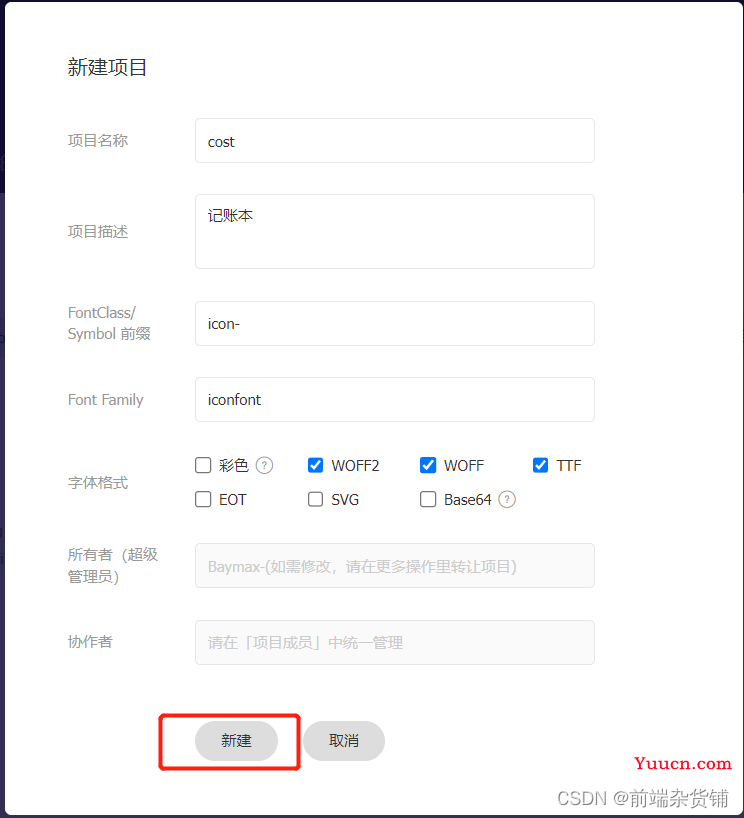
之后,新建自己的项目

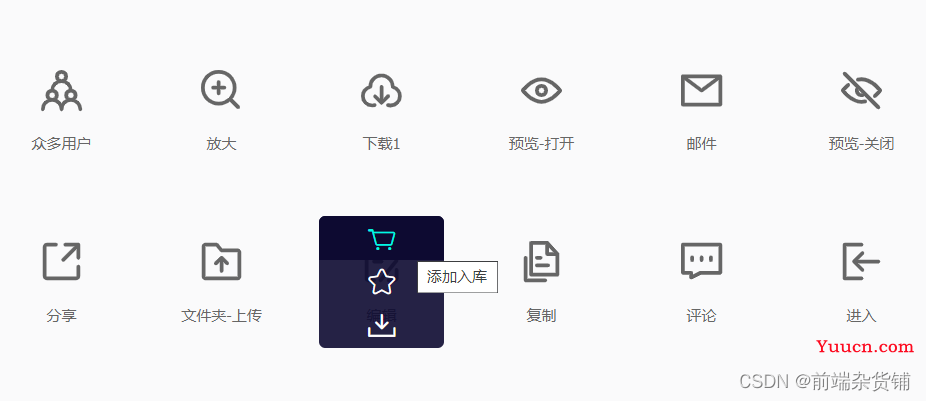
随便添加一个图标到库
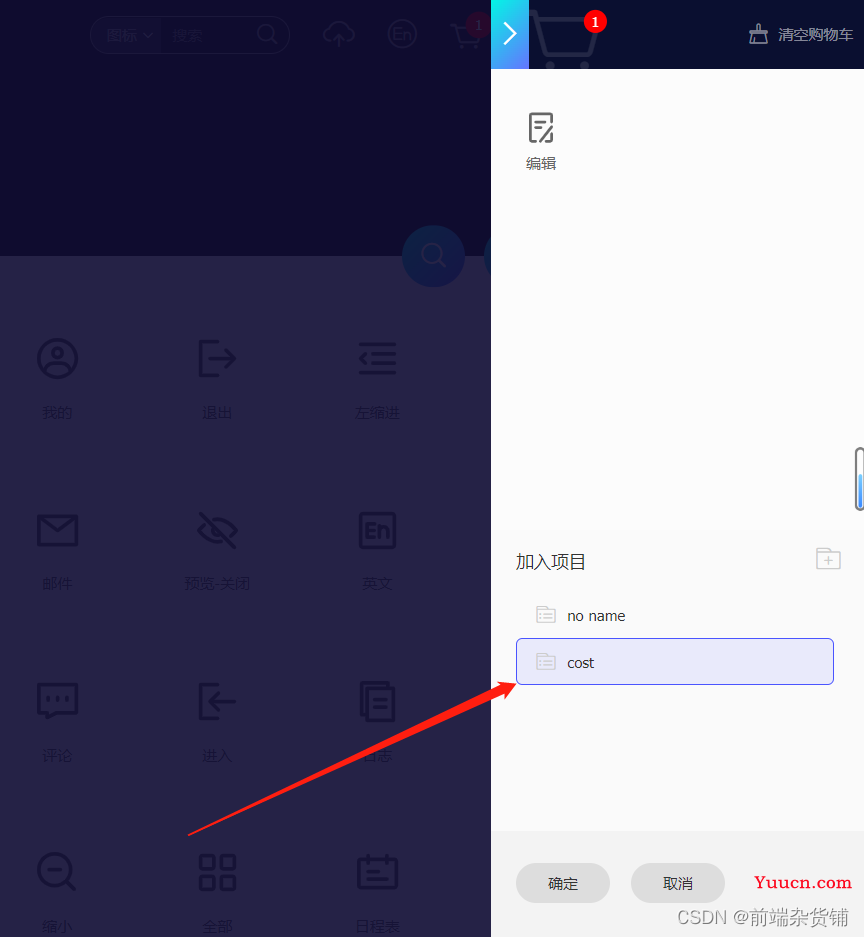
选择项目,添加购物车的图标到项目中
生成 hash 码
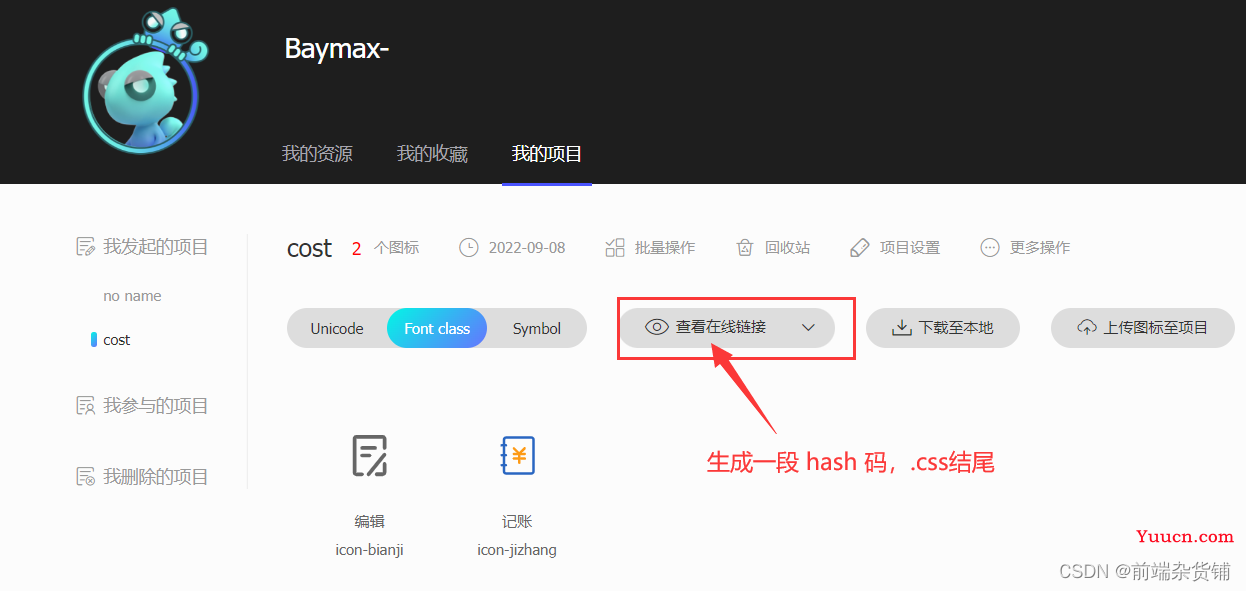
生成的 hash码 添加至 index.html 文件(注意:每次新增图标后,都要重新生成新的 css 静态资源,需要在这里替换最新的路径)
index.html
<!DOCTYPE html>
<html lang="en">
<head>
  <meta charset="UTF-8">
  <link rel="icon" href="/favicon.ico" />
  <meta name="viewport" content="width=device-width, initial-scale=1.0">
  <link rel="stylesheet" href="//at.alicdn.com/t/c/font_3639381_k7hsr2nrb2j.css">
  <title>Vite App</title>
</head>
<body>
  <div id="app"></div>
  <script type="module" src="/src/main.js"></script>
</body>
</html>
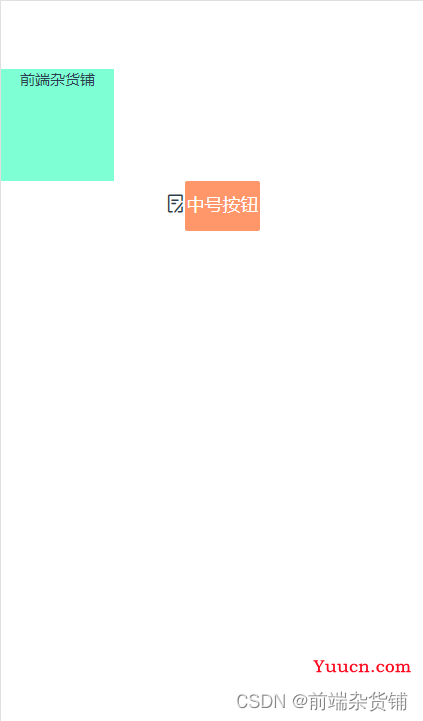
在 Hello.vue 中添加图标,测试是否可以使用
Hello.vue
<template>
  <div class="demo">前端杂货铺</div>
  <i class="iconfont icon-bianji"></i>
  <van-button type="warning" size="middle">中号按钮</van-button>
</template>
<script>
export default {};
</script>
<style scoped>
.demo {
  width: 100px;
  height: 100px;
  background: aquamarine;
}
</style>
此时,yarn dev,打开浏览器可以看到图标显示出来…
6、二次封装 Axios 请求库
在 src 目录下创建 utils 文件夹,该文件夹下创建 axios.js 文件
import axios from "axios";
import { Toast } from "vant";
import { useRouter } from "vue-router";
axios.defaults.baseURL =
  process.env.NODE_ENV == "development"
    ? "//localhost:3000"
    : "//192.168.1.6:3000/"; // 根据环境变量切换本地和线上的请求地址
axios.defaults.withCredentials = true; // 允许跨域
axios.defaults.headers["X-Requested-With"] = "XMLHttpRequest";
axios.defaults.headers["token"] = localStorage.getItem("token") || ""; // 本项目采用 token 的用户鉴权方式,在请求头的 headers 内添加 token,每次请求都会验证用户信息
axios.defaults.headers.post["Content-Type"] = "application/json";
axios.interceptors.response.use((res) => {
  const router = useRouter(); // vue-router 4.x 的实例
  if (typeof res.data !== "object") {
    Toast.fail("服务端异常!");
    return Promise.reject(res);
  }
  // code 非 200 的情况下为异常情况
  if (res.data.code != 200) {
    if (res.data.msg) Toast.fail(res.data.msg);
    if (res.data.code == 401) {
      router.push({ path: "/login" });
    }
    return Promise.reject(res.data);
  }
  // 其他情况直接返回 data 数据
  return res.data;
});
export default axios;
7、添加 Less 预处理器
安装 Less 插件
npm i less less-loader -D
在 src 目录下新建 config 文件夹,在里面新建 custom.less 文件
custom.less
- 先添加一些样式,后续还会更新
@primary: #18b7d3; // 主题色
@danger: #fc3c0c;
@primary-bg: #f5f5f5;
写到最后(附源码)
看到这么好的项目,是不是有种想自己做出来的冲动?
如果有,那么说明你非常的想提升自己,想检验自己这段时间的学习成果,这个项目绝对是你的 不二选择
心动不如行动
那么接下来,一起从0搭建,开始我们基于 Vue3.x + Vant UI 的项目之旅吧~
源码会放在下方的微信公众号里(约九月中旬更新完毕)【回复:记账本】即可