车牌识别
概述
基于深度学习的车牌识别,其中,车辆检测网络直接使用YOLO侦测。而后,才是使用网络侦测车牌与识别车牌号。
车牌的侦测网络,采用的是resnet18,网络输出检测边框的仿射变换矩阵,可检测任意形状的四边形。
车牌号序列模型,采用Resnet18+transformer模型,直接输出车牌号序列。
数据集上,车牌检测使用CCPD 2019数据集,在训练检测模型的时候,会使用程序生成虚假的车牌,覆盖于数据集图片上,来加强检测的能力。
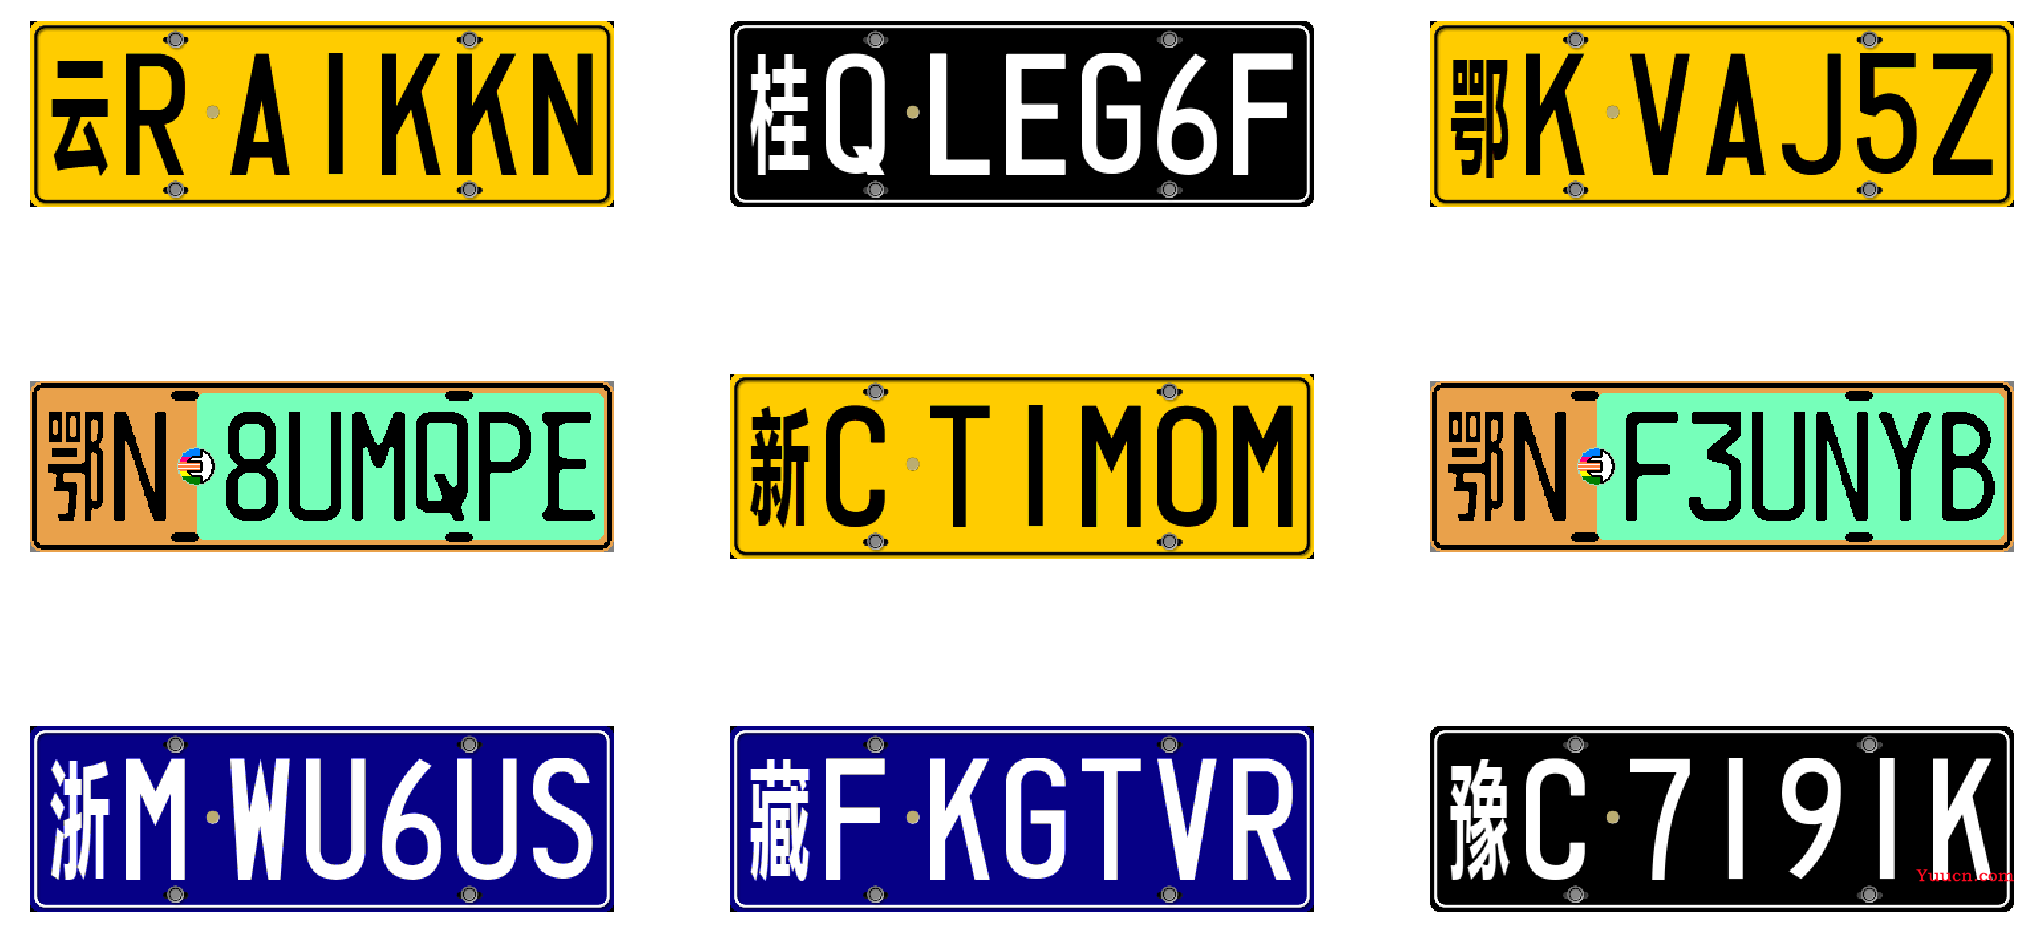
车牌号的序列识别,直接使用程序生成的车牌图片训练,并佐以适当的图像增强手段。模型的训练直接采用端到端的训练方式,输入图片,直接输出车牌号序列,损失采用CTCLoss。
一、网络模型
1、车牌的侦测网络模型:
网络代码定义如下:
class WpodNet(nn.Module):
    def __init__(self):
        """
        车牌侦测网络,直接使用Resnet18,仅改变输出层。
        """
        super(WpodNet, self).__init__()
        resnet = resnet18(True)
        backbone = list(resnet.children())
        self.backbone = nn.Sequential(
            nn.BatchNorm2d(3),
            *backbone[:3],
            *backbone[4:8],
        )
        self.detection = nn.Conv2d(512, 8, 3, 1, 1)
    def forward(self, x):
        features = self.backbone(x)
        out = self.detection(features)
        out = rearrange(out, 'n c h w -> n h w c') # 变换形状
        return out
该网络,相当于直接对图片划分cell,即在16X16的格子中,侦测车牌,输出的为该车牌边框的反射变换矩阵。
2、车牌号的序列识别网络:
车牌号序列识别的主干网络:采用的是ResNet18+transformer,其中有ResNet18完成对图片的编码工作,再由transformer解码为对应的字符。
网络代码定义如下:
from torch import nn
from torchvision.models import resnet18
import torch
from einops import rearrange
class OcrNet(nn.Module):
    def __init__(self,num_class):
        super(OcrNet, self).__init__()
        resnet = resnet18(True)
        backbone = list(resnet.children())
        self.backbone = nn.Sequential(
            nn.BatchNorm2d(3),
            *backbone[:3],
            *backbone[4:8],
        )  # 创建ResNet18
        self.decoder = nn.Sequential(
            Block(512, 8, False),
            Block(512, 8, False),
        )  # 由Transformer 构成的解码器
        self.out_layer = nn.Linear(512, num_class)  # 线性输出层
        self.abs_pos_emb = AbsPosEmb((3, 9), 512)  # 绝对位置编码
    def forward(self,x):
        x = self.backbone(x)
        x = rearrange(x,'n c h w -> n (w h) c')
        x = x + self.abs_pos_emb()
        x = self.decoder(x)
        x = rearrange(x, 'n s v -> s n v')
        return self.out_layer(x)
其中的Block类的代码如下:
class Block(nn.Module):
    r"""
    Args:
        embed_dim: 词向量的特征数。
        num_head: 多头注意力的头数。
        is_mask: 是否添加掩码。是,则网络只能看到每个词前的内容,而无法看到后面的内容。
    Shape:
        - Input: N,S,V (批次,序列数,词向量特征数)
        - Output:same shape as the input
    Examples::
        # >>> m = Block(720, 12)
        # >>> x = torch.randn(4, 13, 720)
        # >>> output = m(x)
        # >>> print(output.shape)
        # torch.Size([4, 13, 720])
    """
    def __init__(self, embed_dim, num_head, is_mask):
        super(Block, self).__init__()
        self.ln_1 = nn.LayerNorm(embed_dim)
        self.attention = SelfAttention(embed_dim, num_head, is_mask)
        self.ln_2 = nn.LayerNorm(embed_dim)
        self.feed_forward = nn.Sequential(
            nn.Linear(embed_dim, embed_dim * 6),
            nn.ReLU(),
            nn.Linear(embed_dim * 6, embed_dim)
        )
    def forward(self, x):
        '''计算多头自注意力'''
        attention = self.attention(self.ln_1(x))
        '''残差'''
        x = attention + x
        x = self.ln_2(x)
        '''计算feed forward部分'''
        h = self.feed_forward(x)
        x = h + x  # 增加残差
        return x
位置编码的代码如下:
class AbsPosEmb(nn.Module):
    def __init__(
        self,
        fmap_size,
        dim_head
    ):
        super().__init__()
        height, width = fmap_size
        scale = dim_head ** -0.5
        self.height = nn.Parameter(torch.randn(height, dim_head) * scale)
        self.width = nn.Parameter(torch.randn(width, dim_head) * scale)
    def forward(self):
        emb = rearrange(self.height, 'h d -> h () d') + rearrange(self.width, 'w d -> () w d')
        emb = rearrange(emb, ' h w d -> (w h) d')
        return emb
Block类使用的自注意力代码如下:
class SelfAttention(nn.Module):
    r"""多头自注意力
    Args:
        embed_dim: 词向量的特征数。
        num_head: 多头注意力的头数。
        is_mask: 是否添加掩码。是,则网络只能看到每个词前的内容,而无法看到后面的内容。
    Shape:
        - Input: N,S,V (批次,序列数,词向量特征数)
        - Output:same shape as the input
    Examples::
        # >>> m = SelfAttention(720, 12)
        # >>> x = torch.randn(4, 13, 720)
        # >>> output = m(x)
        # >>> print(output.shape)
        # torch.Size([4, 13, 720])
    """
    def __init__(self, embed_dim, num_head, is_mask=True):
        super(SelfAttention, self).__init__()
        assert embed_dim % num_head == 0
        self.num_head = num_head
        self.is_mask = is_mask
        self.linear1 = nn.Linear(embed_dim, 3 * embed_dim)
        self.linear2 = nn.Linear(embed_dim, embed_dim)
    def forward(self, x):
        '''x 形状 N,S,V'''
        x = self.linear1(x)  # 形状变换为N,S,3V
        n, s, v = x.shape
        """分出头来,形状变换为 N,S,H,V"""
        x = x.reshape(n, s, self.num_head, -1)
        """换轴,形状变换至 N,H,S,V"""
        x = torch.transpose(x, 1, 2)
        '''分出Q,K,V'''
        query, key, value = torch.chunk(x, 3, -1)
        dk = value.shape[-1] ** 0.5
        '''计算自注意力'''
        w = torch.matmul(query, key.transpose(-1, -2)) / dk  # w 形状 N,H,S,S
        if self.is_mask:
            """生成掩码"""
            mask = torch.tril(torch.ones(w.shape[-1], w.shape[-1])).to(w.device)
            w = w * mask - 1e10 * (1 - mask)
        w = torch.softmax(w, dim=-1)  # softmax归一化
        attention = torch.matmul(w, value)  # 各个向量根据得分合并合并, 形状 N,H,S,V
        '''换轴至 N,S,H,V'''
        attention = attention.permute(0, 2, 1, 3)
        n, s, h, v = attention.shape
        '''合并H,V,相当于吧每个头的结果cat在一起。形状至N,S,V'''
        attention = attention.reshape(n, s, h * v)
        return self.linear2(attention)  # 经过线性层后输出
二、数据加载
1、车牌号的数据加载
同过程序生成一组车牌号:

再通过数据增强,
主要包括:
-
随机污损:

-
高斯模糊:

-
仿射变换,粘贴于一张大图中:

-
四边形的四个角的位置随机偏移些许后扣出:

然后直接训练车牌号的序列识别网络,
loss_func = nn.CTCLoss(blank=0, zero_infinity=True)
optimizer = torch.optim.Adam(self.net.parameters(), lr=0.00001)
优化器直接使用Adam,损失函数为CTCLoss。
2、车牌检测的数据加载
数据使用的是CCPD数据集,在这过程中,会随机的使用生成车牌,覆盖原始图片的车牌位置,来训练网络对车牌的检测能力。
if random.random() < 0.5:
    plate, _ = self.draw()
    plate = cv2.cvtColor(plate, cv2.COLOR_RGB2BGR)
    plate = self.smudge(plate)  # 随机污损
    image = enhance.apply_plate(image, points, plate)  # 粘贴车牌图片于数据图中
[x1, y1, x2, y2, x4, y4, x3, y3] = points
points = [x1, x2, x3, x4, y1, y2, y3, y4]
image, pts = enhance.augment_detect(image, points, 208)
三、训练
分别训练即可
其中,侦测网络的损失计算,如下:
def count_loss(self, predict, target):
    condition_positive = target[:, :, :, 0] == 1  # 筛选标签
    condition_negative = target[:, :, :, 0] == 0
    predict_positive = predict[condition_positive]
    predict_negative = predict[condition_negative]
    target_positive = target[condition_positive]
    target_negative = target[condition_negative]
    n, v = predict_positive.shape
    if n > 0:
        loss_c_positive = self.c_loss(predict_positive[:, 0:2], target_positive[:, 0].long())
    else:
        loss_c_positive = 0
    loss_c_nagative = self.c_loss(predict_negative[:, 0:2], target_negative[:, 0].long())
    loss_c = loss_c_nagative + loss_c_positive
    if n > 0:
        affine = torch.cat(
            (
                predict_positive[:, 2:3],
                predict_positive[:,3:4],
                predict_positive[:,4:5],
                predict_positive[:,5:6],
                predict_positive[:,6:7],
                predict_positive[:,7:8]
            ),
            dim=1
        )
        # print(affine.shape)
        # exit()
        trans_m = affine.reshape(-1, 2, 3)
        unit = torch.tensor([[-0.5, -0.5, 1], [0.5, -0.5, 1], [0.5, 0.5, 1], [-0.5, 0.5, 1]]).transpose(0, 1).to(
            trans_m.device).float()
        # print(unit)
        point_pred = torch.einsum('n j k, k d -> n j d', trans_m, unit)
        point_pred = rearrange(point_pred, 'n j k -> n (j k)')
        loss_p = self.l1_loss(point_pred, target_positive[:, 1:])
    else:
        loss_p = 0
    # exit()
    return loss_c, loss_p
侦测网络输出的反射变换矩阵,但对车牌位置的标签给的是四个角点的位置,所以需要响应转换后,做损失。其中,该cell是否有目标,使用CrossEntropyLoss,而对车牌位置损失,采用的则是L1Loss。
四、推理
1、侦测网络的推理
按照一般侦测网络,推理即可。只是,多了一步将反射变换矩阵转换为边框位置的计算。
另外,在YOLO侦测到得测量图片传入该级进行车牌检测的时候,会做一步操作。代码见下,讲车辆检测框的图片扣出,然后resize到长宽均为16的整数倍。
h, w, c = image.shape
f = min(288 * max(h, w) / min(h, w), 608) / min(h, w)
_w = int(w * f) + (0 if w % 16 == 0 else 16 - w % 16)
_h = int(h * f) + (0 if h % 16 == 0 else 16 - h % 16)
image = cv2.resize(image, (_w, _h), interpolation=cv2.INTER_AREA)
f
=
m
i
n
(
288
∗
m
a
x
(
h
,
w
)
m
i
n
(
h
,
w
)
,
608
)
/
m
i
n
(
h
,
w
)
f = min(\frac{288*max(h,w)}{min(h,w)},608)/min(h,w)
f=min(min(h,w)288∗max(h,w),608)/min(h,w)
2、序列检测网络的推理
对网络输出的序列,进行去重操作即可,如间隔标识符为“*”时:
def deduplication(self, c):
    '''符号去重'''
    temp = ''
    new = ''
    for i in c:
        if i == temp:
            continue
        else:
            if i == '*':
                temp = i
                continue
            new += i
            temp = i
    return new
五、完整代码
https://github.com/HibikiJie/LicensePlate
不包含,YOLO使用的部分,文件具有一张测试图片,可供测试使用。如需完整使用,务必自行添加测量检测模型及代码。
权重文件:
链接:https://pan.baidu.com/s/1r1ymtv0RHG87O4Yut1oUiQ
提取码:6yoj